Follow Me On Social Media!
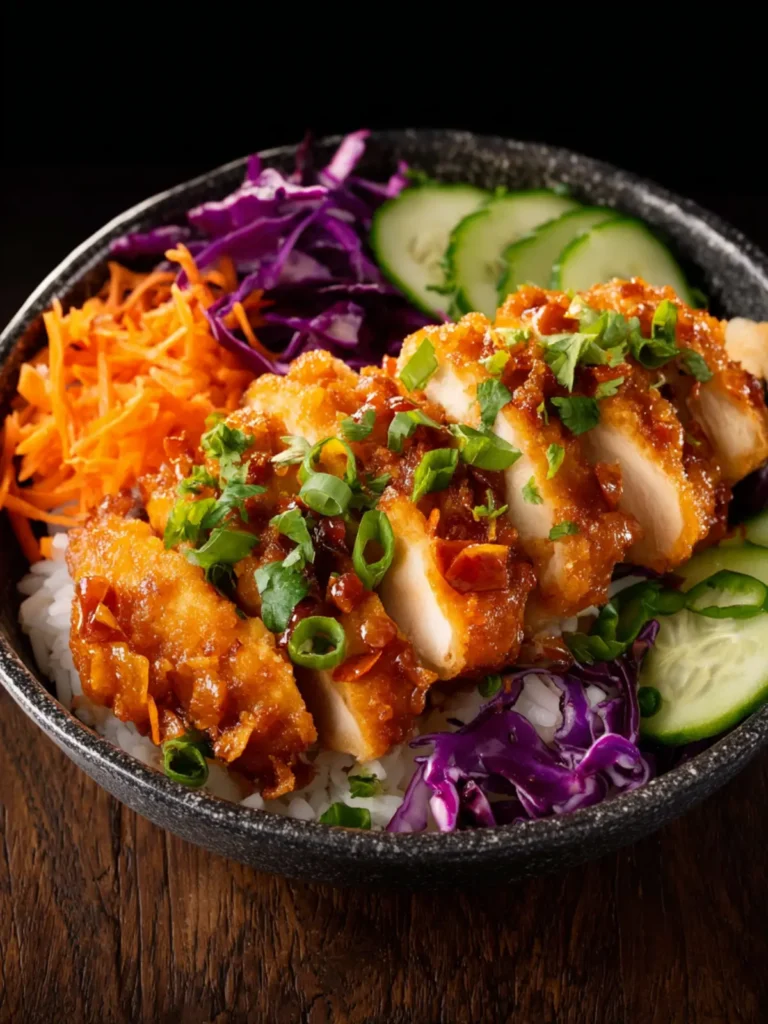
Gluten Free Chicken Tenders: Juicy Joy in Every Bite
Introduction to Gluten Free Chicken Tenders
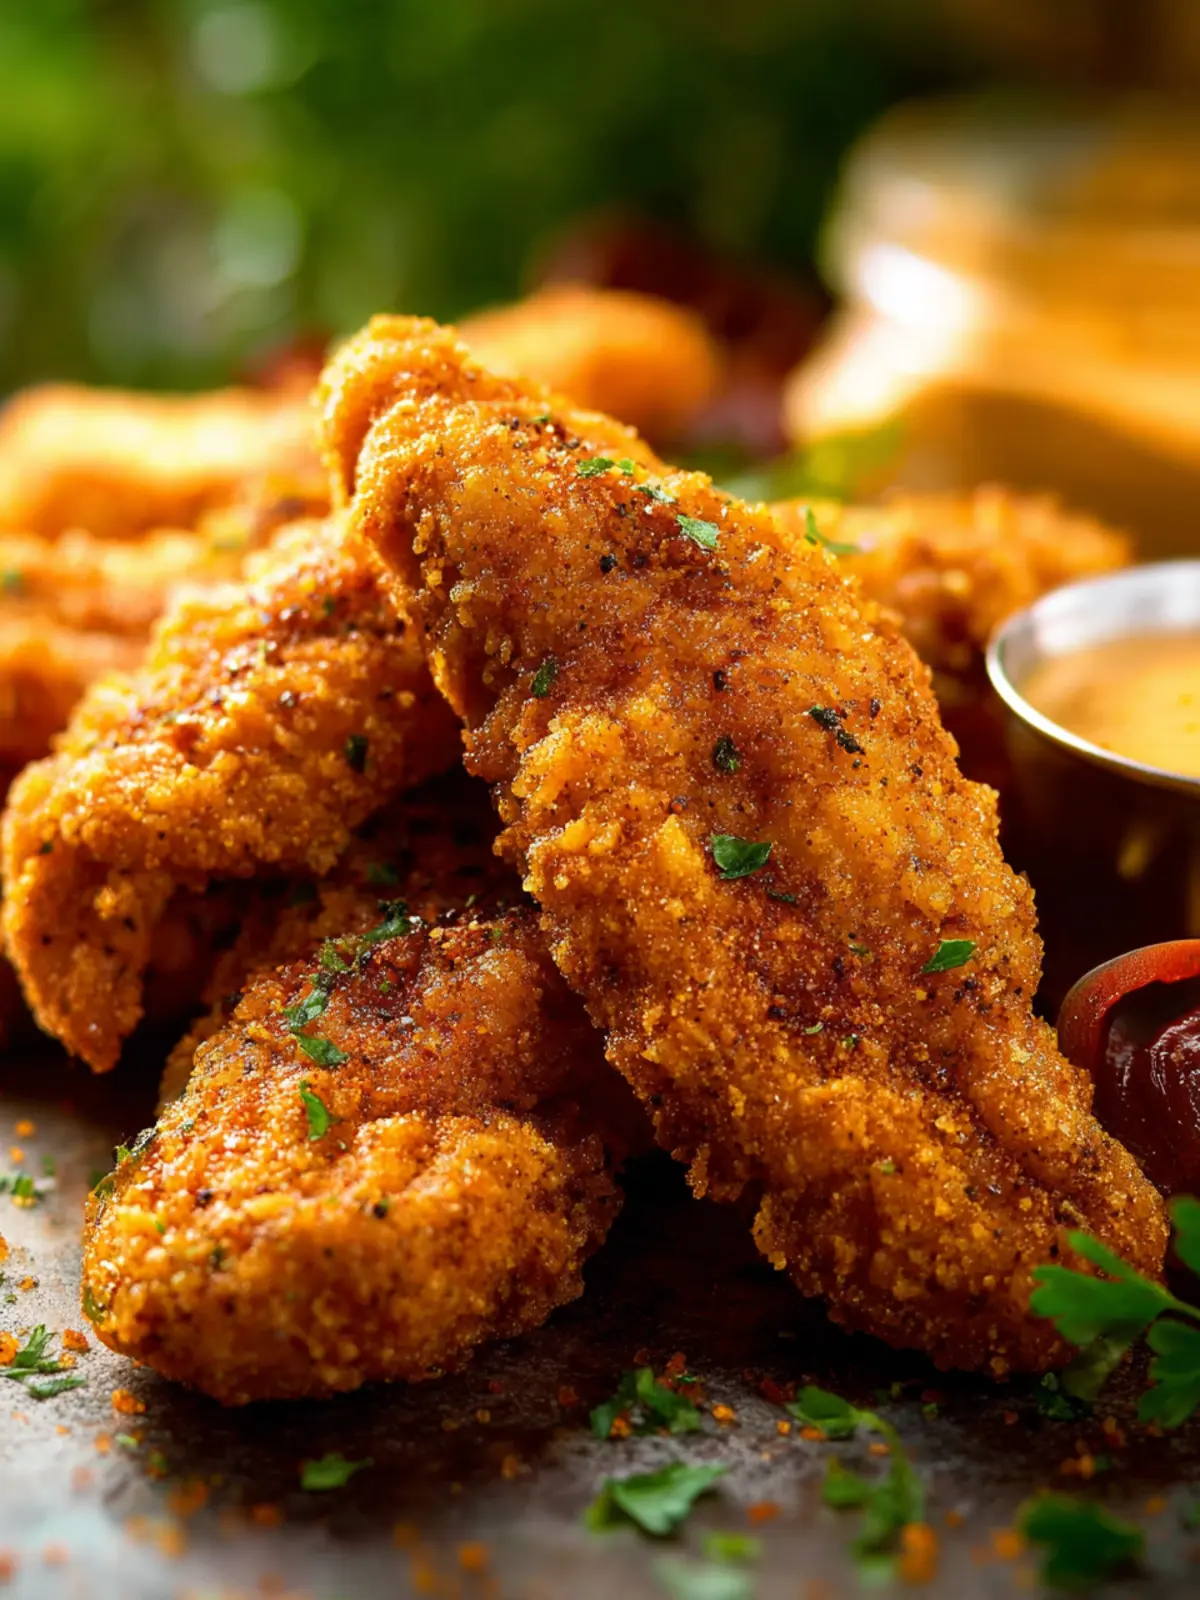
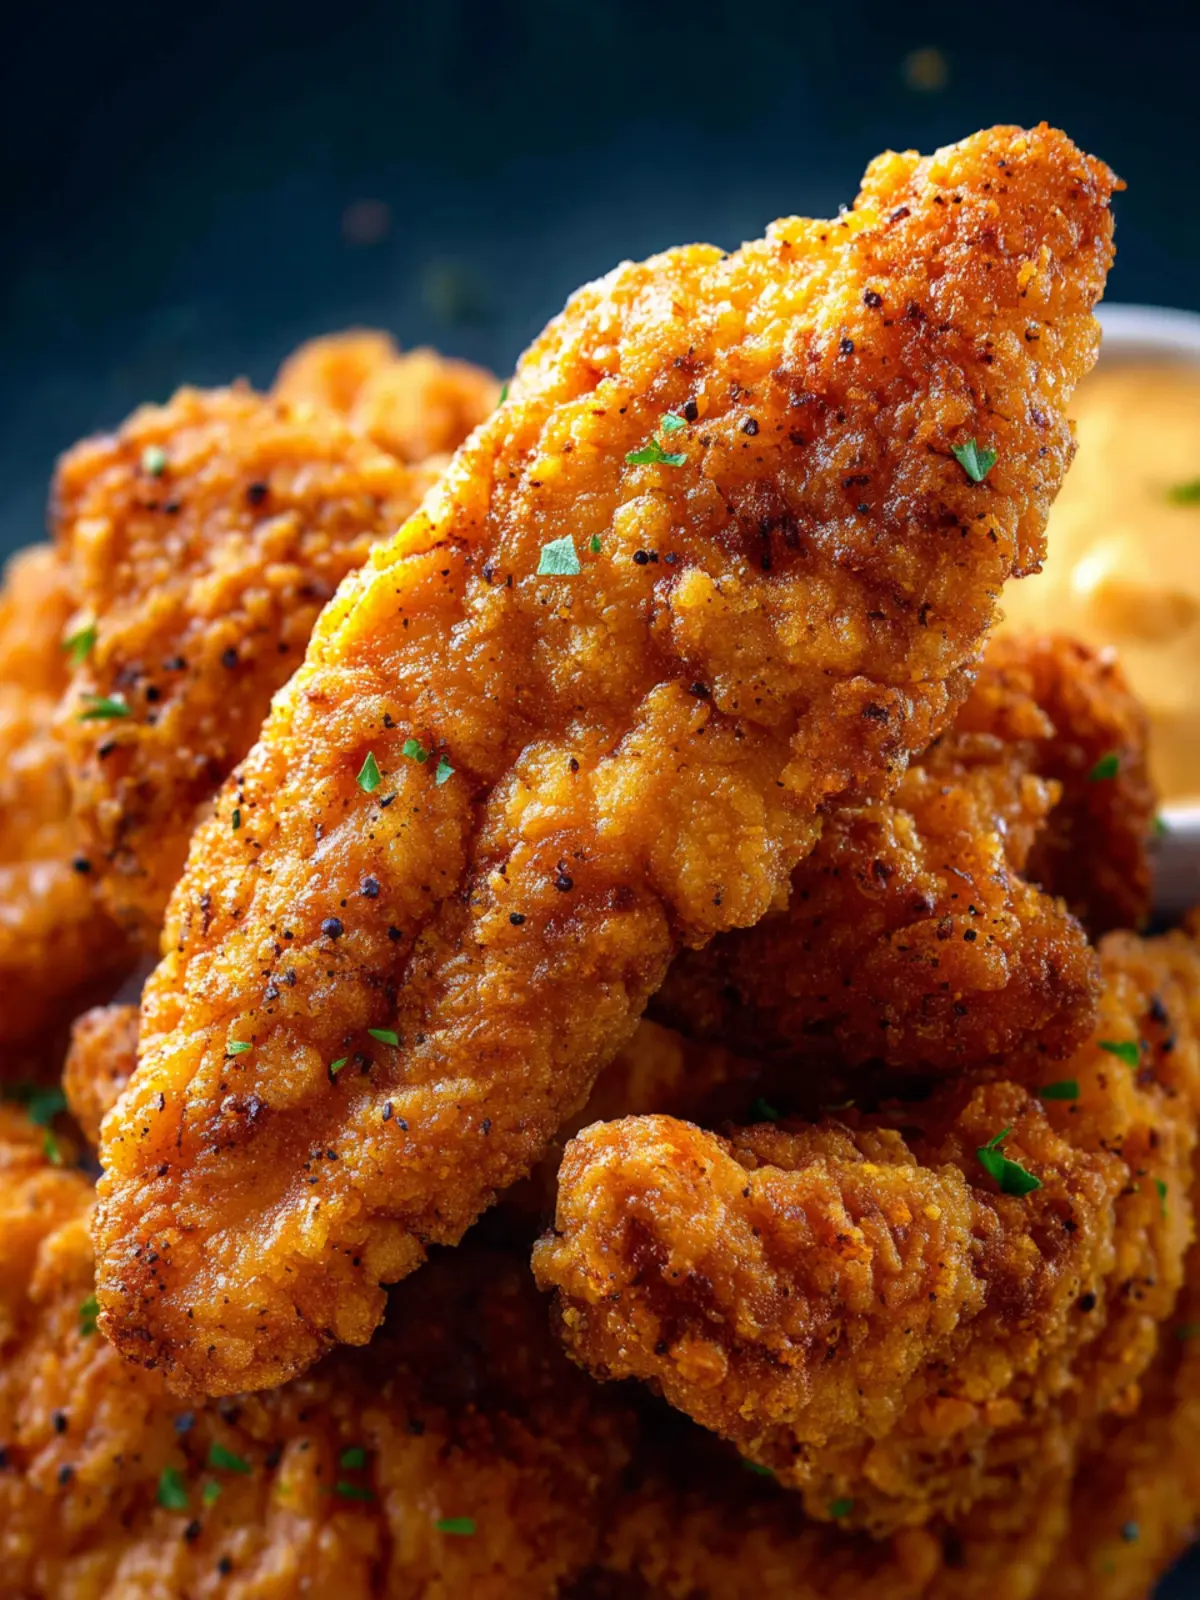
Imagine biting into a juicy, tender piece of chicken enveloped in a light, crispy coating that satisfies your cravings without a hint of guilt. That’s the magic of gluten free chicken tenders—they’re a delightful alternative that not only caters to those with gluten sensitivities but also offers a delicious dining experience for everyone. Whether you’re preparing a family meal, hosting friends for dinner, or simply indulging in a late-night snack, these tenders bring joy to any table.
What makes gluten free chicken tenders a must-try recipe? For starters, they use gluten-free breadcrumbs or a specialized blend of flours, which means you won’t sacrifice taste or texture. The crispy outside complements the moist interior perfectly, creating a balanced bite every time. You can easily customize them with your favorite seasonings or dipping sauces, making them versatile enough for any palate.
Why You’ll Love These Gluten Free Chicken Tenders
- Healthier Choice: Chicken is a lean protein, providing nutrients that are essential for active lifestyles. Going gluten-free simply adds an extra layer of health to an already nutritious dish.
- Easy to Make: Preparing these chicken tenders can be done in under an hour. The steps are straightforward, making it perfect for those busy weeknights.
- Kid-Friendly: Children love anything that’s crispy and can be dipped. These tenders keep the little ones happy and are a great way to introduce a gluten-free diet to your family without anyone feeling deprived.
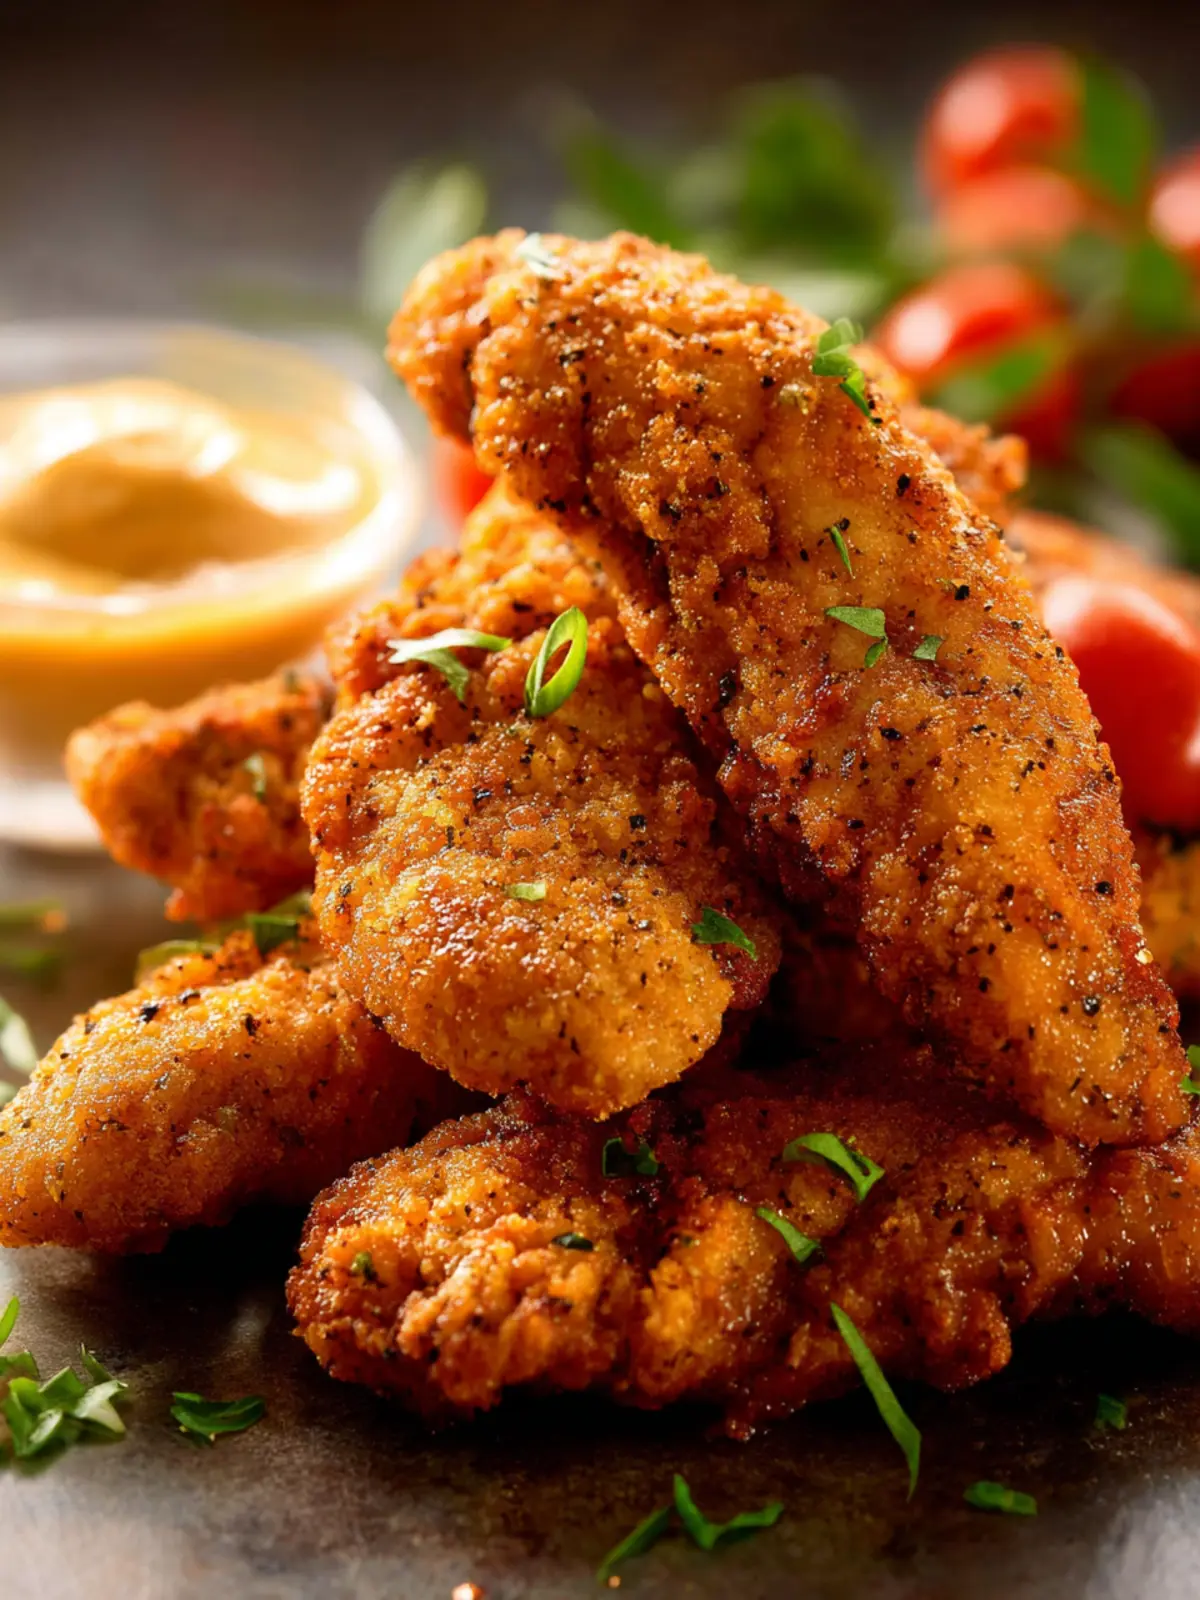
- Party Favor: Planning a gathering? These make a fantastic appetizer! Pair them with a spicy aioli or a classic honey mustard, and watch everyone reach for more.
Crafting these gluten free chicken tenders is not only rewarding but also allows you to show off your culinary skills. Enjoy the satisfaction of creating a dish that’s both tasty and accommodating, perfect for sharing at your next gathering or simply savoring on a quiet night in. Don’t let gluten-free diets deter you from enjoying the crispy, juicy goodness of chicken tenders—you’ll be glad you gave this recipe a chance!
Key Ingredients for Gluten Free Chicken Tenders
Chicken: At the heart of these gluten free chicken tenders is, of course, the chicken itself. I recommend using boneless, skinless chicken breasts for their ease of handling and ability to stay juicy while frying. You can also opt for chicken thighs for a slightly richer flavor.
Gluten-Free Breadcrumbs: To achieve that satisfying crunch, I use gluten-free breadcrumbs made from rice, quinoa, or corn. These breadcrumbs are perfect for creating a crispy coating that doesn’t compromise on texture or flavor.
Eggs: Eggs play a pivotal role in binding all the ingredients together. I usually beat a couple of eggs to create a smooth dipping solution that helps the breadcrumbs stick perfectly to the chicken.
Seasonings: Flavor is crucial! A blend of garlic powder, onion powder, paprika, and salt season the gluten free chicken tenders beautifully. You can adjust the quantities to suit your palate, adding herbs like thyme or parsley for a fresh touch.
Oil: For frying, I prefer using a neutral oil with a high smoke point, like avocado oil or canola oil. This ensures that our tenders fry to a golden crisp without imparting any unwanted flavors.
Why You’ll Love These Gluten Free Chicken Tenders
The moment you bite into these gluten free chicken tenders, you’ll find yourself transported to a cozy family dinner where every bite is filled with crispy joy. Crafted not just for the gluten-sensitive but for everyone seeking a delicious meal option, these chicken tenders are bound to become a new favorite in your kitchen.
A Crispy Delight
- Crispy Coating: The unique blend of gluten-free breadcrumbs captures that perfect crunch you crave. It’s not only appealing but ensures that every bite is a satisfying experience.
Flavor That Shines
- Seasoned to Perfection: The combination of spices in the coating elevates these tenders beyond everyday fare. Think garlic powder, paprika, and a hint of salt, all contributing to a flavor explosion in every piece.
Convenient Meal Prep
- Easy to Make: With simple ingredients and straightforward steps, preparing these tenders can fit effortlessly into your busy evening routine. They’re quick enough for an after-work meal yet special enough to serve at gatherings.
Kid-Friendly
- Perfect for All Ages: Even picky eaters will adore these chicken tenders. Their appealing shape and irresistible crunch make them an ideal companion to lunchboxes or a fun dinner with homemade dipping sauces.
By the end of your meal, you’ll not only love these gluten free chicken tenders for their taste but also for their ease of preparation and versatility!

Cooking Tips and Notes for Gluten Free Chicken Tenders
Creating gluten free chicken tenders at home opens the door to a world of crispy, flavorful goodness that rivals any restaurant. Whether you’re prepping for a laid-back dinner or entertaining friends, these tips will help you achieve that perfect crunch and tender meat.
Choosing the Right Chicken
- Fresh, Quality Chicken: For the best results, opt for fresh chicken breast. Look for organic or free-range options where possible; they tend to have better flavor and texture.
The Perfect Breading Technique
-
Gluten-Free Coatings: I love using a combination of almond flour and gluten-free breadcrumbs for crunch. The nutty flavor pairs wonderfully with the chicken and gives it that satisfying crunch.
-
Double-Dipping for Extra Crispiness: For an extra crispy layer, dip your chicken tenders first in a seasoned egg wash, then coat them twice in the gluten-free mixture. This creates a thicker crust that holds up beautifully during frying.
Cooking Method Matters
- Pan-Frying vs. Baking: While you can bake your gluten free chicken tenders, pan-frying in a hot skillet yields the most delicious results. Use a good-quality oil, like avocado or canola, for frying—it has a higher smoke point and enhances the flavor.
A Note on Seasoning
- Personalize Your Flavors: Don’t be afraid to experiment! Whether you’re a fan of spices like paprika and garlic or prefer herbs like rosemary and thyme, seasoning is key to elevating your dish.
With these tips in hand, making your own gluten free chicken tenders will be not just simple but also a fun cooking adventure. Enjoy experimenting in the kitchen!
Serving Suggestions for Gluten Free Chicken Tenders
Creating delightful gluten free chicken tenders is only half the fun; how you serve them can elevate the entire dining experience. Imagine sitting around the table with friends on a laid-back evening, your crispy tenders stealing the show. Here are some tasty ideas to consider when you plate your delicious dish.
Dipping Delights
A variety of dips can turn your chicken tenders into a flavorful feast. Try classic options like honey mustard, barbecue sauce, and ranch dressing. For a twist, consider a zesty avocado lime crema or a spicy sriracha mayo to cater to different taste preferences.
Perfect Pairings
Round out your meal with sides that complement your tenders. Options like a crunchy kale salad, roasted sweet potatoes, or a fresh coleslaw offer excellent textures and flavors. You could even serve them on a bed of quinoa or alongside a colorful vegetable stir-fry for a wholesome touch.
Fun Serving Ideas
Why not turn dinner into a fun event? Create a chicken tender platter with a selection of dips, garnished with fresh herbs and lemon wedges. This not only looks appealing but allows everyone to customize their meal to their liking.
Incorporating these serving suggestions for gluten free chicken tenders will surely impress your guests and make every meal memorable!
Time Breakdown for Gluten Free Chicken Tenders
Making the perfect gluten free chicken tenders doesn’t just happen in a flash; each step is crucial to achieving that flavorful, crispy texture we all crave. Here’s the rundown of your time commitment.
Preparation time
Start by gathering all your ingredients and tools. This usually takes about 15 minutes. Keep your workspace organized to make the process smoother.
Marinating time
For maximum flavor, marinate your chicken tenders for at least 30 minutes. This is when the magic happens as they soak up those tasty flavors.
Cooking time
Once marinated, cooking these tenders will take about 15-20 minutes. Just the right amount of time to achieve that golden, crispy crust!
Total time
So, if you add it all up, you’re looking at roughly 1 hour for your delightful plate of gluten free chicken tenders from start to finish, making it both quick and convenient for any meal!
Nutritional Facts for Gluten Free Chicken Tenders
Unveiling the gluten free chicken tenders recipe offers not just a delicious meal but a satisfying one packed with nutrients. Understanding the nutritional breakdown can help you make informed choices while enjoying this delightful dish.
Calories
Each serving of these delicious chicken tenders contains approximately 300 calories, making them a perfect option for a filling lunch or dinner without overindulging.
Protein
You’ll find about 25 grams of protein in every serving. This hearty protein content makes the gluten free chicken tenders an excellent choice for muscle repair and growth, keeping you fueled throughout your busy day.
Carbohydrates
Coming in at around 15 grams of carbohydrates, these tenders provide just enough energy without weighing you down. The use of gluten-free breadcrumbs keeps them light yet satisfying.
Fats
With about 10 grams of total fat per serving, these chicken tenders strike a balance. The healthy fats not only add flavor but also help in the absorption of fat-soluble vitamins, making for a well-rounded meal option.
Enjoy your gluten free chicken tenders with confidence, knowing they’re not only tasty but trackable, too!
FAQs about Gluten Free Chicken Tenders
Creating the perfect gluten free chicken tenders can raise a few common questions among those eager to dive into this delicious recipe. Here are some of the most frequently asked questions to help you make the best tenders possible.
Can I use regular flour instead of gluten-free flour?
While it might be tempting to swap in regular flour for your gluten free chicken tenders, it’s essential to stick with a gluten-free option if you’re looking to maintain that gluten-free status. Options like almond flour or a dedicated gluten-free all-purpose blend work wonderfully as they can yield a crispy coating that rivals traditional flour. Just make sure your gluten-free flour is suitable for frying or baking!
How can I ensure the chicken tenders are crispy?
Achieving that perfect crunch on your gluten free chicken tenders is all about layers. Here are some tips:
- Double Dipping: Coat the chicken in egg, then dip it in gluten-free flour, then back in egg, and finally back in flour. This creates a thicker, crunchier crust.
- Use Cornstarch: Mixing a bit of cornstarch with your gluten-free flour can enhance the crunchiness.
- Fry Properly: If frying, make sure your oil is hot enough; this prevents the chicken from soaking up excess oil and becoming soggy.
Can I bake these gluten free chicken tenders instead of frying them?
Absolutely! Baking is a healthier alternative that can yield delicious results. For gluten free chicken tenders in the oven:
- Preheat your oven to 400°F (200°C).
- Line a baking sheet with parchment paper for easy cleanup.
- Arrange the tenders in a single layer and lightly spray them with cooking oil to help them crisp up.
- Bake for about 20-25 minutes, flipping halfway through to achieve an even golden color.
By following these tips, you’ll enjoy wonderfully crispy and satisfying gluten free chicken tenders whether you fry or bake them!
Conclusion on Gluten Free Chicken Tenders
In a world where dietary preferences can often feel limiting, these gluten free chicken tenders provide a delightful solution that doesn’t compromise on flavor or texture. Whether served as a family dinner, game day snack, or a quick lunchtime fix, these tenders promise to satisfy even the pickiest eaters. As you dive into this crispy, golden-brown dish, take a moment to appreciate the simple ingredients and straightforward preparation that makes homemade meals so rewarding. Enjoy the flavorful crunch and know that you’re not only treating your taste buds but also sticking to a gluten-free lifestyle.
Print
Fried Chicken Tenders
- Total Time: 24 hours 30 minutes
- Yield: 4 servings 1x
- Diet: Gluten-Free
Description
Delicious, golden-brown fried chicken tenders that are crispy on the outside and juicy on the inside.
Ingredients
Scale
- 1 cup buttermilk (240ml)
- 1 tsp salt
- 1 tsp paprika
- 1/2 tsp cayenne
- 2 lbs chicken tenderloins or chicken breast cut into thin pieces (like chicken fingers)
- 1 1/2 cups gluten free all purpose flour (210g)
- 3/4 cup potato starch (120g) or 1 cup corn starch (100g)
- 1 tsp salt
- 1 tsp baking powder
- 1 tsp black pepper
- 1 tsp dried thyme
- 1 tsp paprika
- 1 tsp garlic powder
- 1/4 tsp cayenne
- 3–4 cups oil for frying
Instructions
- In a large bowl whisk buttermilk, paprika, cayenne and salt. Add chicken tenderloins and fully submerge. Cover and let marinate in the fridge 4-24 hours.
- Whisk flour, starch and spices in a shallow dish or bowl until combined. Cover and set aside until needed.
- Remove chicken from buttermilk marinade. Transfer chicken to a different bowl leaving behind the spiced buttermilk – do not dump it out! You’ll need the buttermilk for the breading process.
- Line a large baking sheet with parchment paper or foil (for easy cleanup). You’ll add the coated chicken to the lined pan to rest after breading. You should also have 3 bowls at this point: buttermilk, chicken and spiced flour.
- Working with a few chicken pieces at a time, add to the flour bowl. Toss in flour making sure to coat all the sides. Remove from the flour then dip into the buttermilk bowl to get wet. Return the chicken to the flour mixture one more time. Press the flour into the chicken so it sticks then transfer to the lined baking sheet. Repeat with the remaining chicken pieces. The order goes: flour, buttermilk, flour, lined baking sheet.
- Optional: Let the chicken rest on the baking sheet for 30 minutes. This will give the flour time to hydrate and get really sticky on the chicken.
- Line another large baking sheet with foil or parchment paper and place a wire rack over the top. Place next to the stove top so you can add the chicken right after frying.
- Add the oil to a large, heavy-bottomed pot or deep skillet until it’s about 1-2 inches deep. Warm the oil over a medium-high heat until it reaches about 375°F (190°C).
- Carefully add a few pieces of chicken to the pot – make sure not to crowd the pan. Let cook about 4-5 minutes until golden brown and crispy, then flip over and cook another 4-5 minutes. Times may vary depending on how thick your chicken tenders are. Check the internal temperature with a meat thermometer if needed to assure it’s cooked through (165°F/74°C). Transfer the cooked chicken to the wire rack. Check the oil temp and adjust the heat as needed to maintain a steady temperature. Repeat with the remaining chicken and enjoy.
Notes
- Ensure the chicken is fully coated with seasoning for maximum flavor.
- Letting the chicken rest before frying enhances the crispiness.
- Prep Time: 24 hours
- Cook Time: 30 minutes
- Category: Main Course
- Method: Frying
- Cuisine: American
Nutrition
- Serving Size: 1 cup
- Calories: 450
- Sugar: 2g
- Sodium: 1200mg
- Fat: 25g
- Saturated Fat: 5g
- Unsaturated Fat: 15g
- Trans Fat: 0g
- Carbohydrates: 35g
- Fiber: 2g
- Protein: 30g
- Cholesterol: 100mg